Unity is a tool for building games and interactive 3D scenes. I used it in this lab to put together a small environment with a floor, brick walls, fences, and a stone bridge. Then I added a player so I could explore it.
The first version ended with three things still missing: items to collect, a sound when collecting them, and a score counter. Now it’s all finished. The scene has a small task to complete: collecting four pink floating balls.
Starting with an empty world
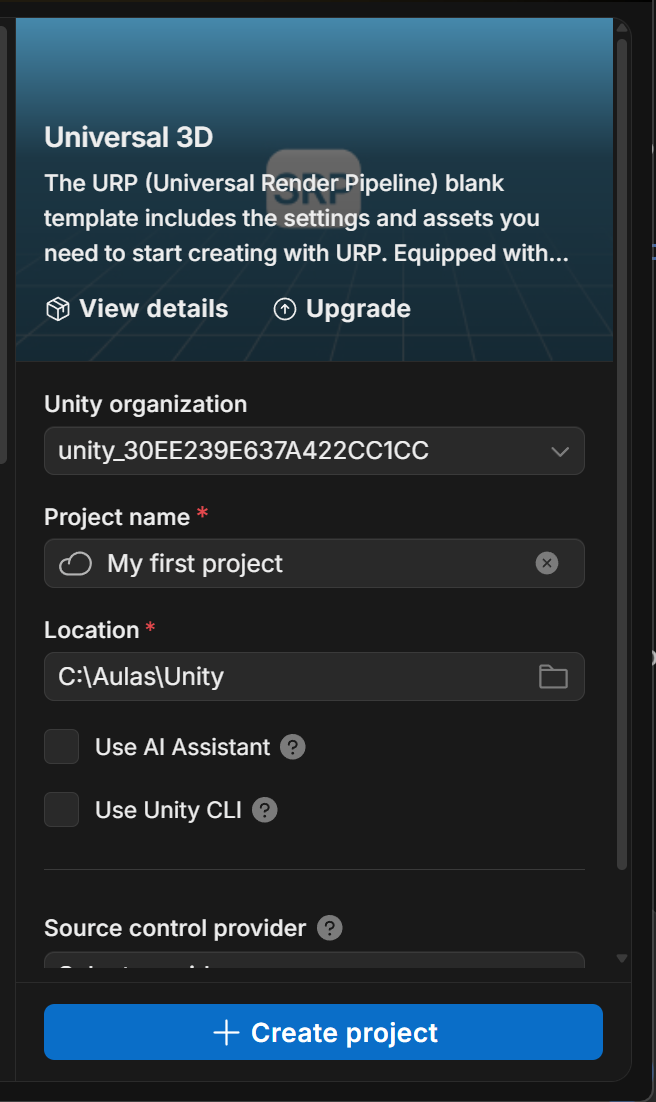
I downloaded Unity and created a project using the Universal 3D template. That gave me a starting point for a 3D scene, with the rendering setup already in place.
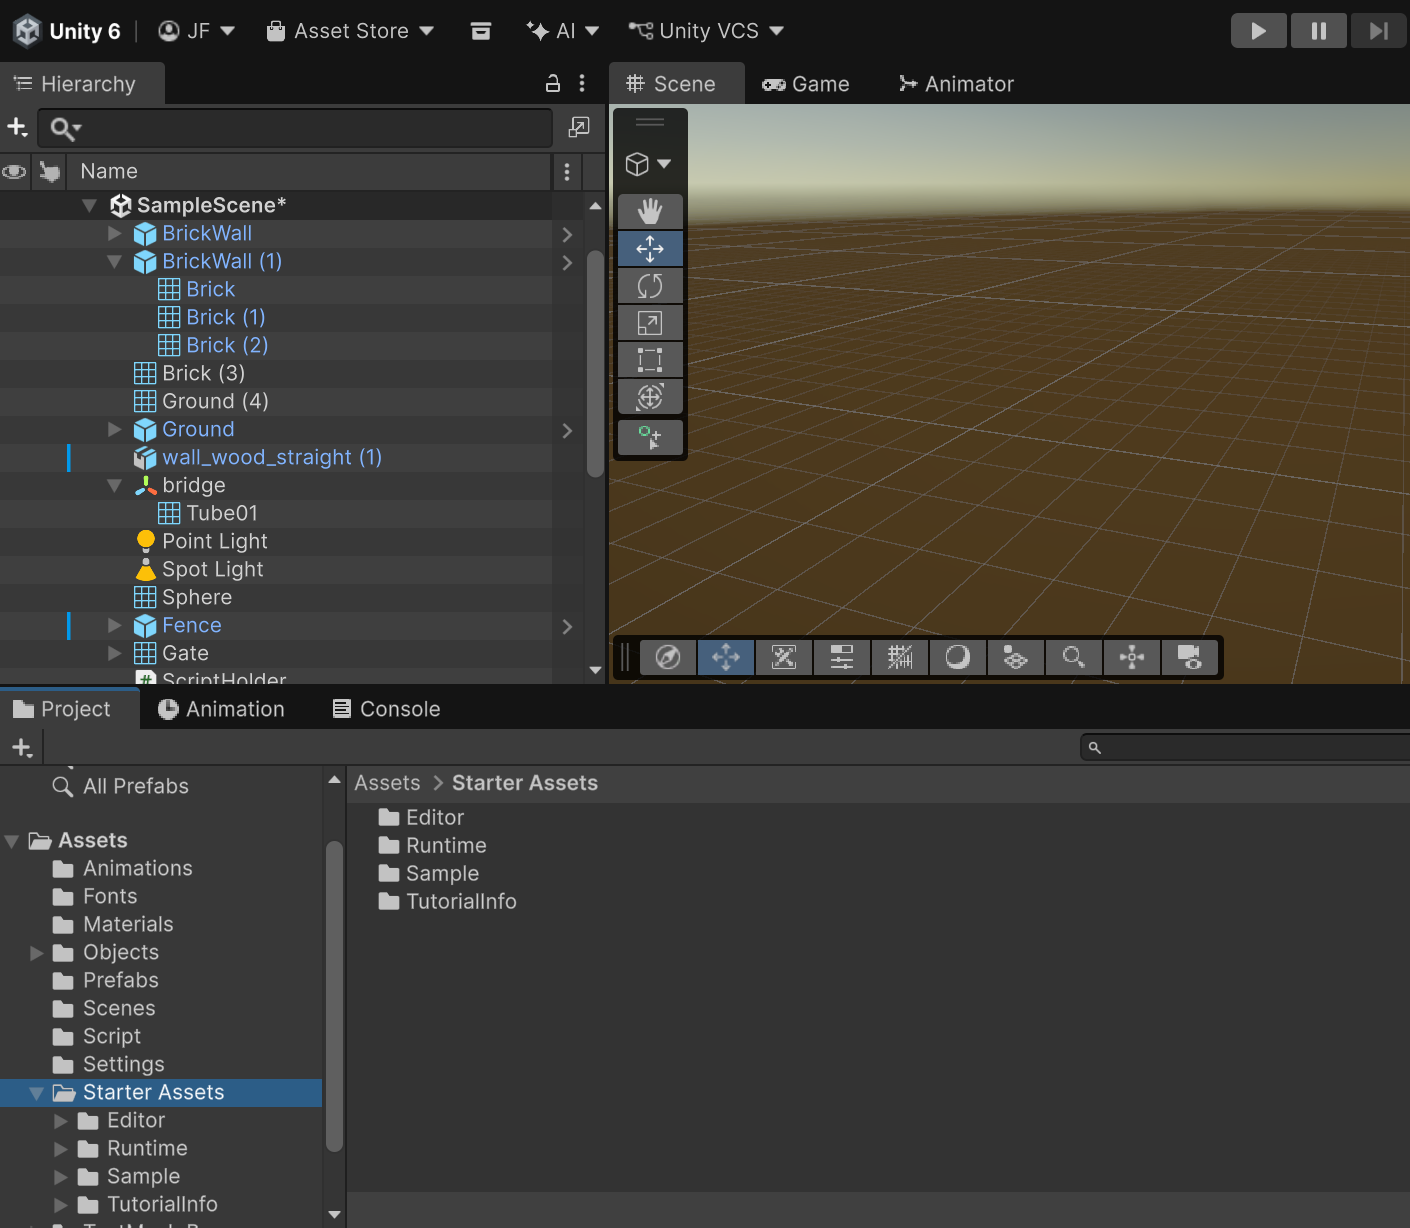
My first job was understanding where everything was. The Hierarchy lists the objects in the scene, the Project window holds the files, and the Inspector shows the settings of whatever I select. I practised moving around the Scene view and placing objects before trying to build anything more complicated.
Giving the blocks a surface
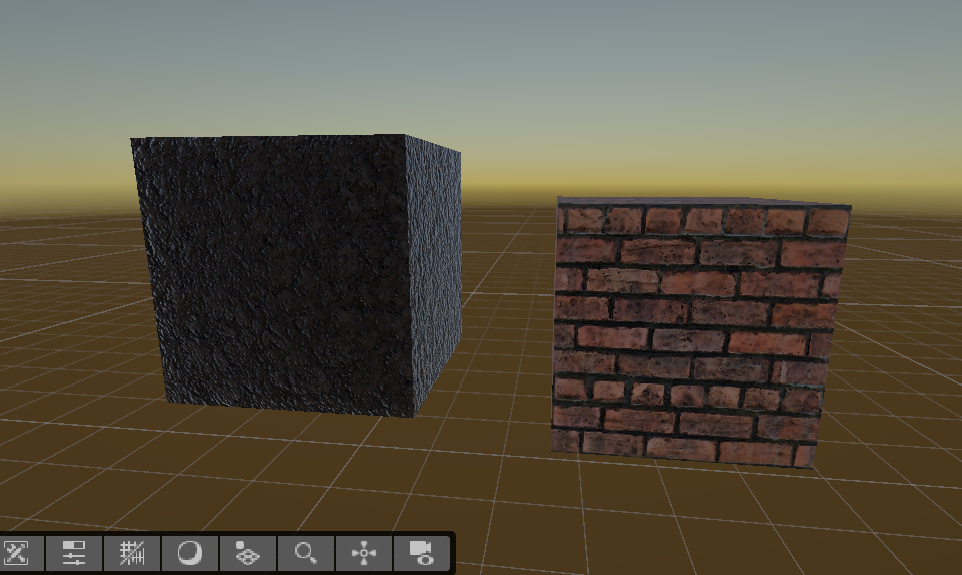
I started with a brick block and a ground block downloaded from the internet. Applying their materials made the floor and walls look like different surfaces, even though their shapes were still simple.
I also tried normal maps, which make the object seem to have surface details. With the brick material, this helped me see how a texture and the way a surface catches light work together. Moving the light later made those differences easier to notice.
Building the walls and adding the bridge
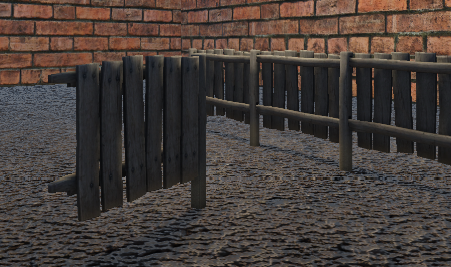
With the blocks ready, I started assembling the walls and fences. I grouped their pieces in the Hierarchy so I could move a whole section together.
I then learned to save these groups as prefabs. This let me reuse a section with its materials and settings already applied, instead of putting all the pieces together again. I also practised adding ready-made prefabs to the scene.
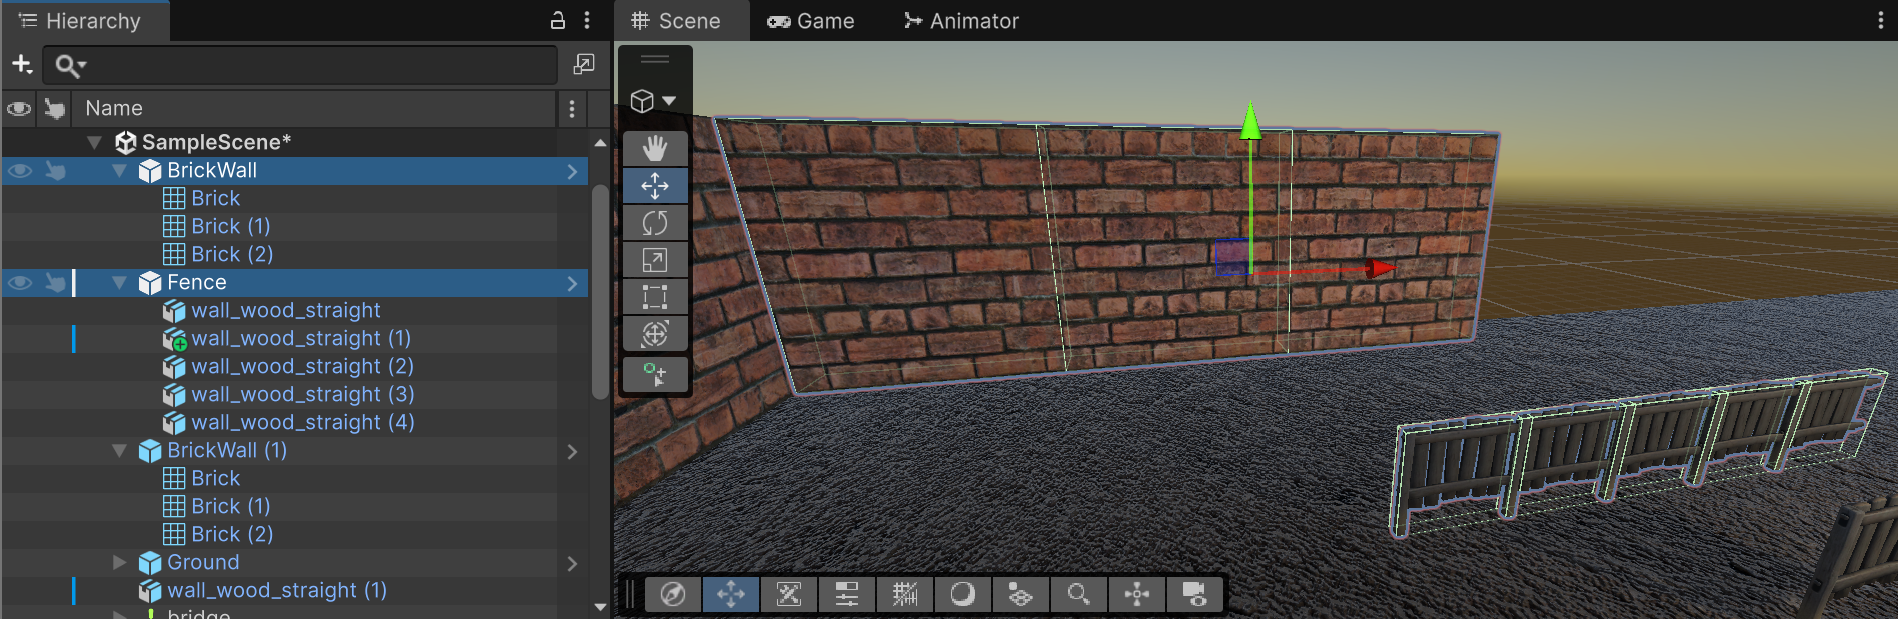
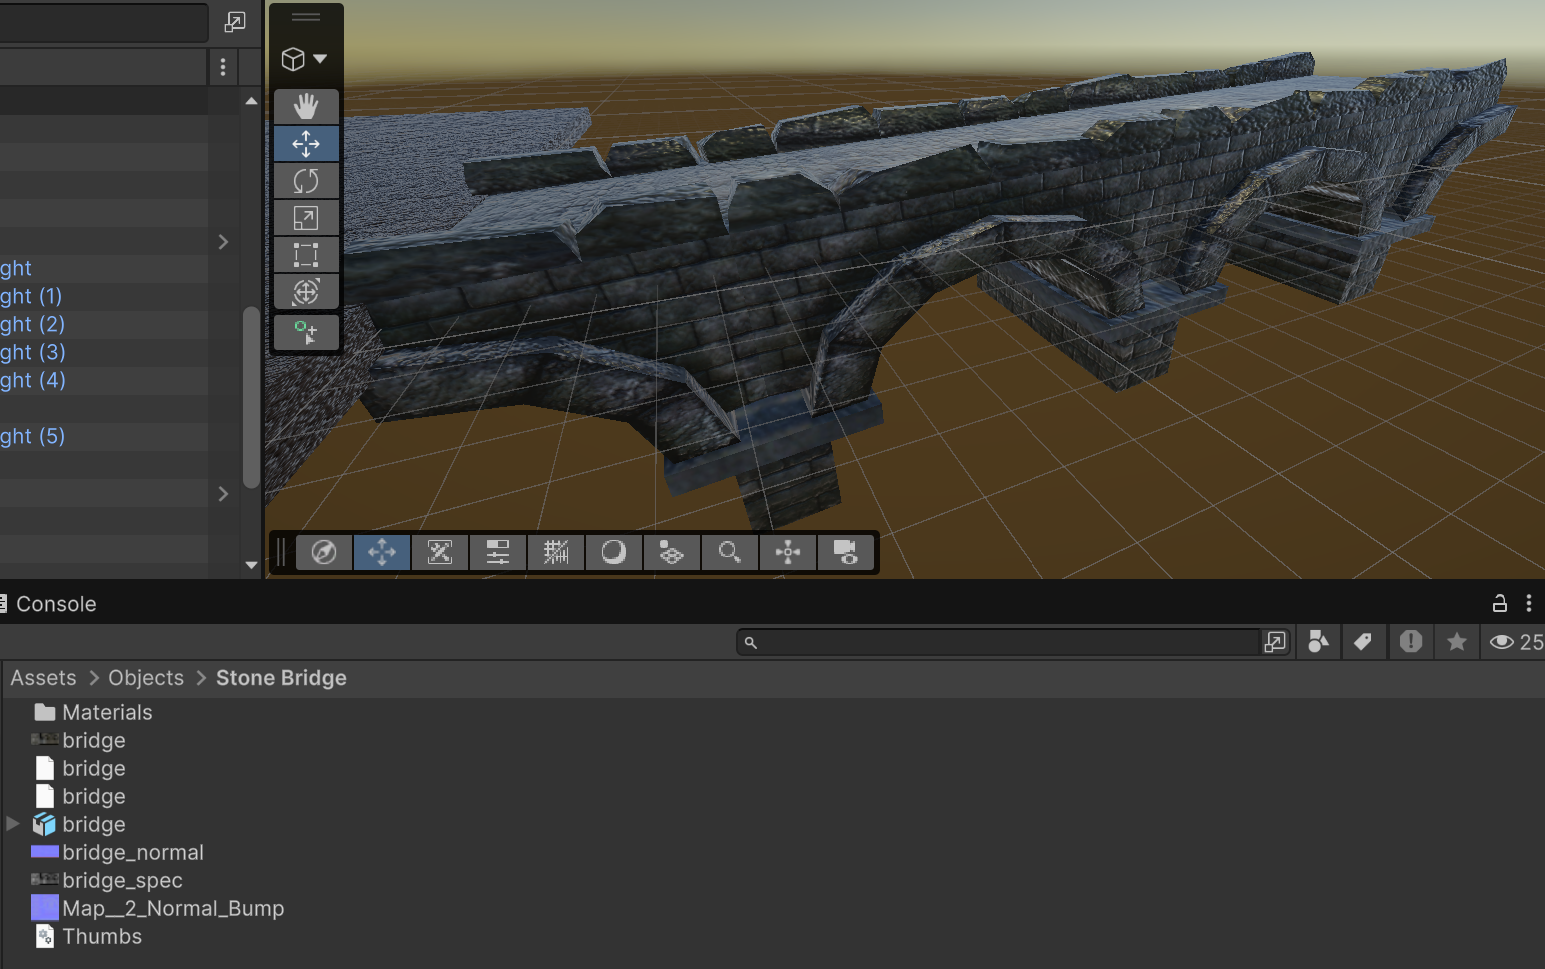
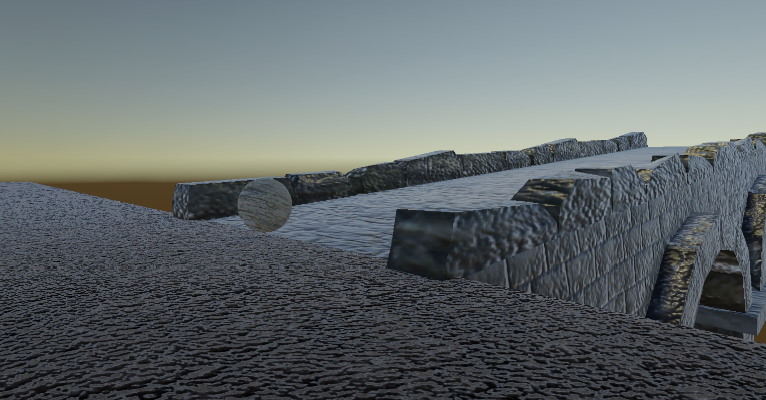
For the stone bridge, I imported a downloaded asset folder into the project and placed the model in the scene.
I placed the bridge at the edge of the floor. Later, I used it to test the ball’s physics and put one of the collectibles there.
Testing the lighting
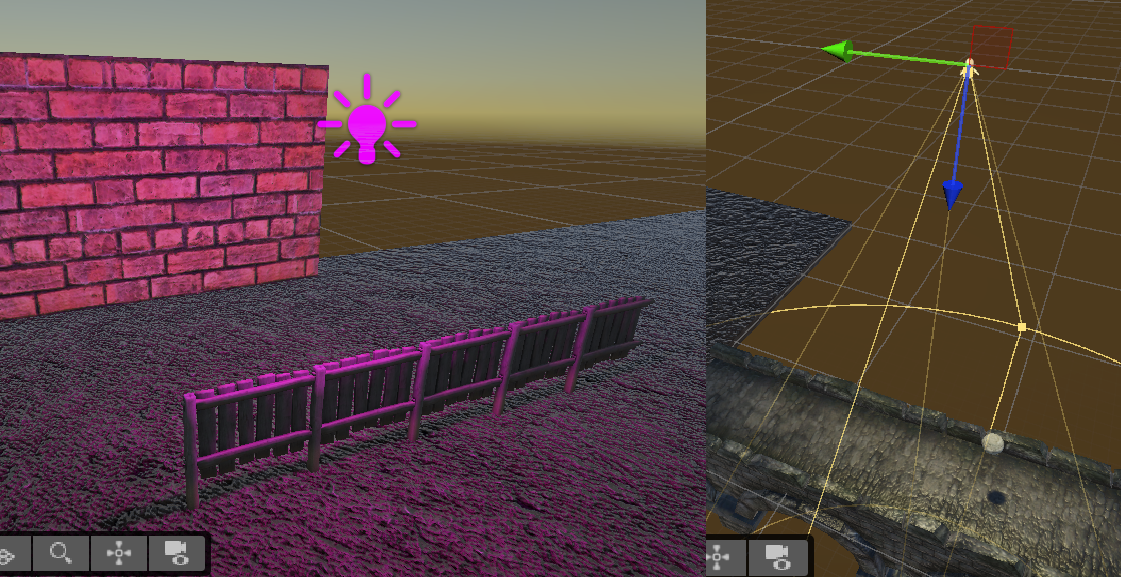
I added a point light near the wall and a spotlight aimed at the bridge. I changed their positions, colours, and settings to see how they affected the objects around them.
With the pink light, I could clearly see the colour on the wall and fence. The spotlight covered a smaller area on the bridge. I also checked how the brick material looked as I moved the lights.
Testing physics and animation
I placed a ball on the bridge and added physics components to test gravity and collisions. The ball moved down the bridge, and I could check how it interacted with the surface.
For the animation, I used a fence section as a gate and recorded its opening and closing movement. I later used this animation to let the player reach the collectible inside the fenced area.
Adding the player and camera
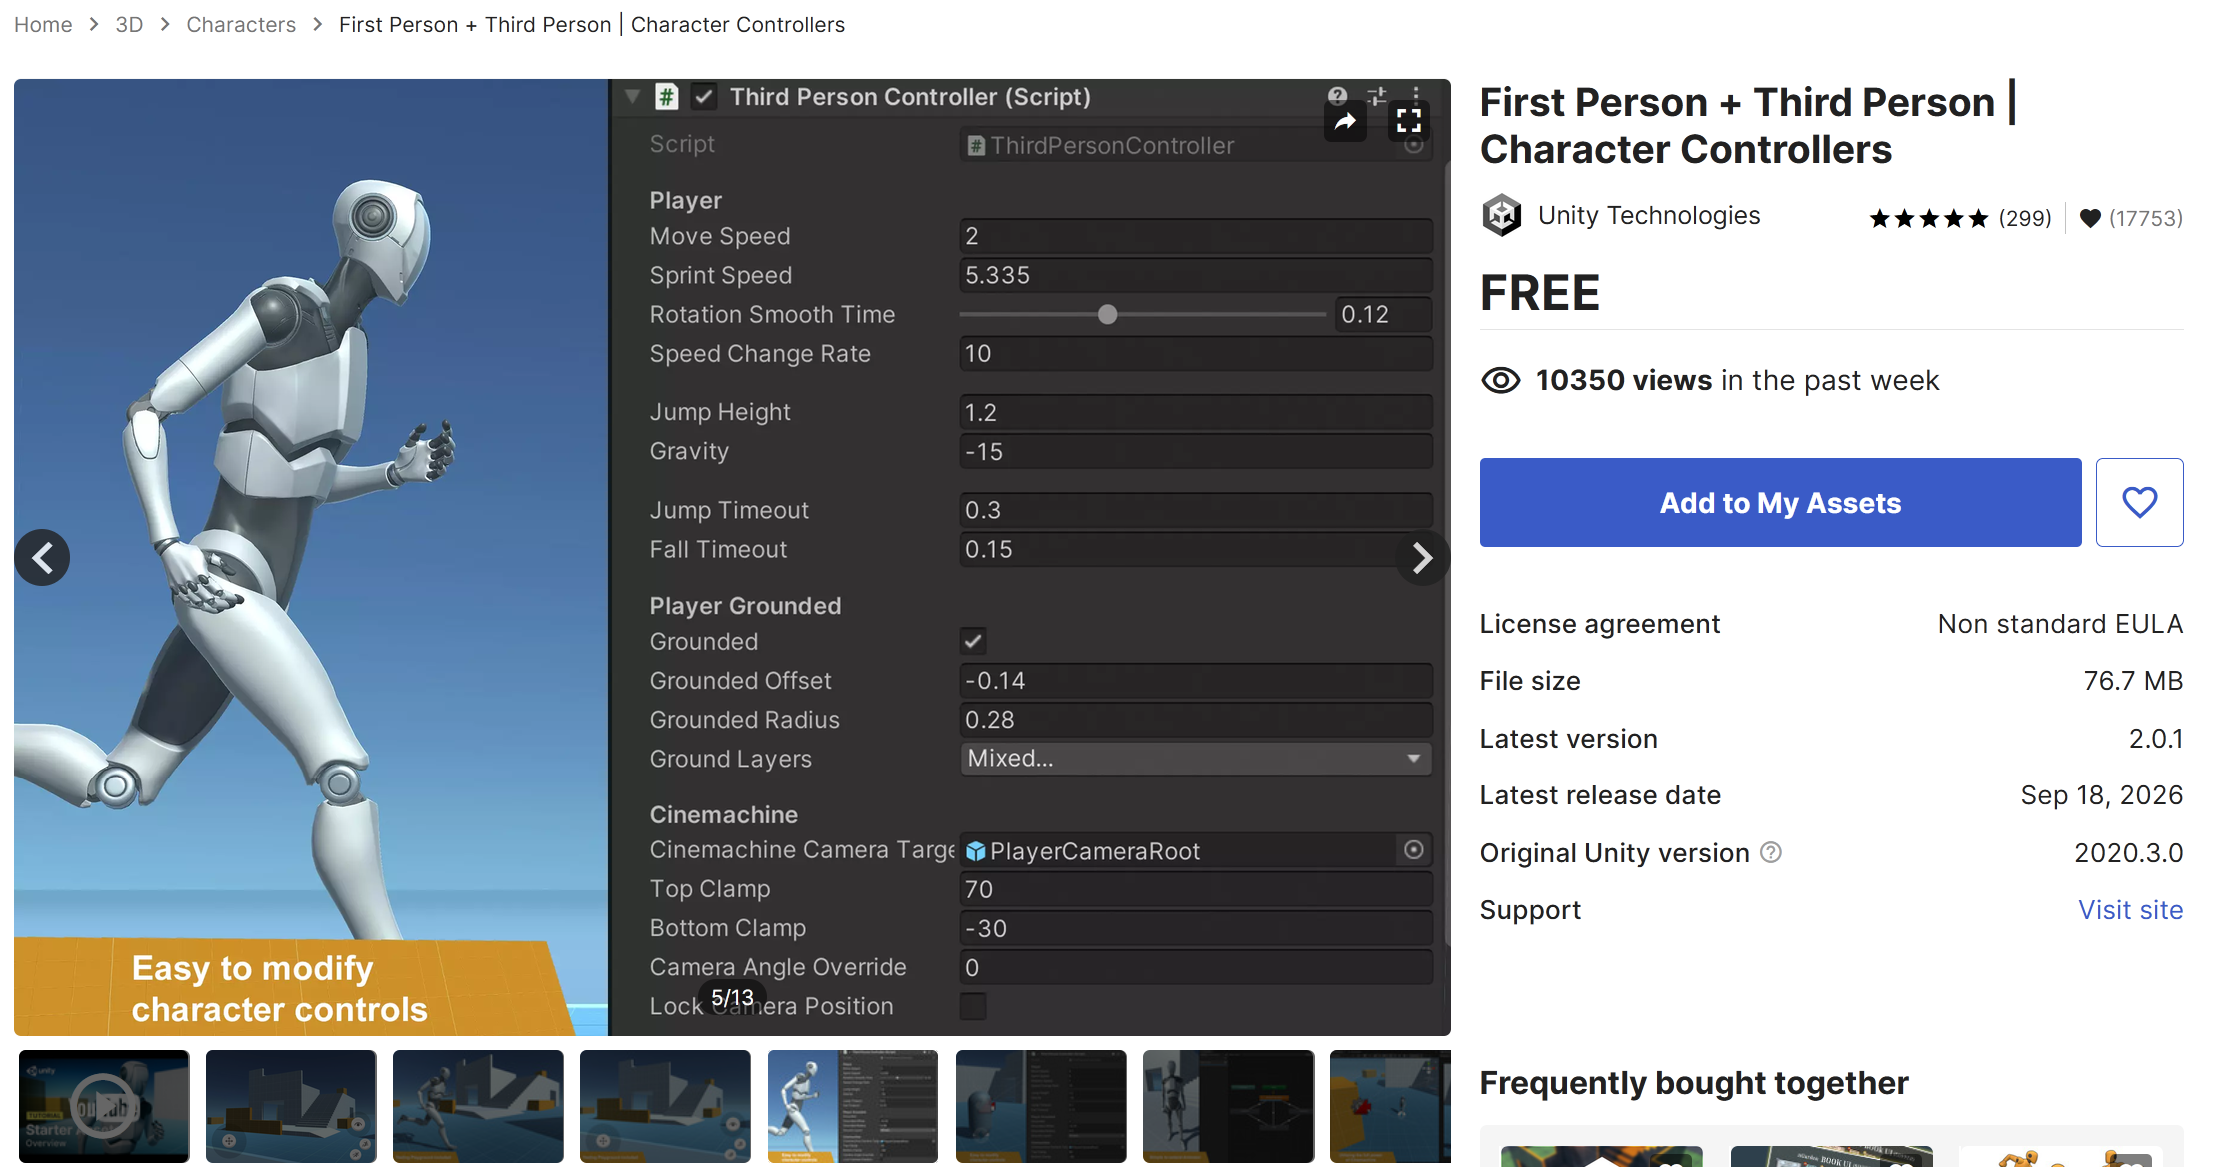
I downloaded Unity’s First Person + Third Person Character Controllers package from the Asset Store and imported a player into the scene.
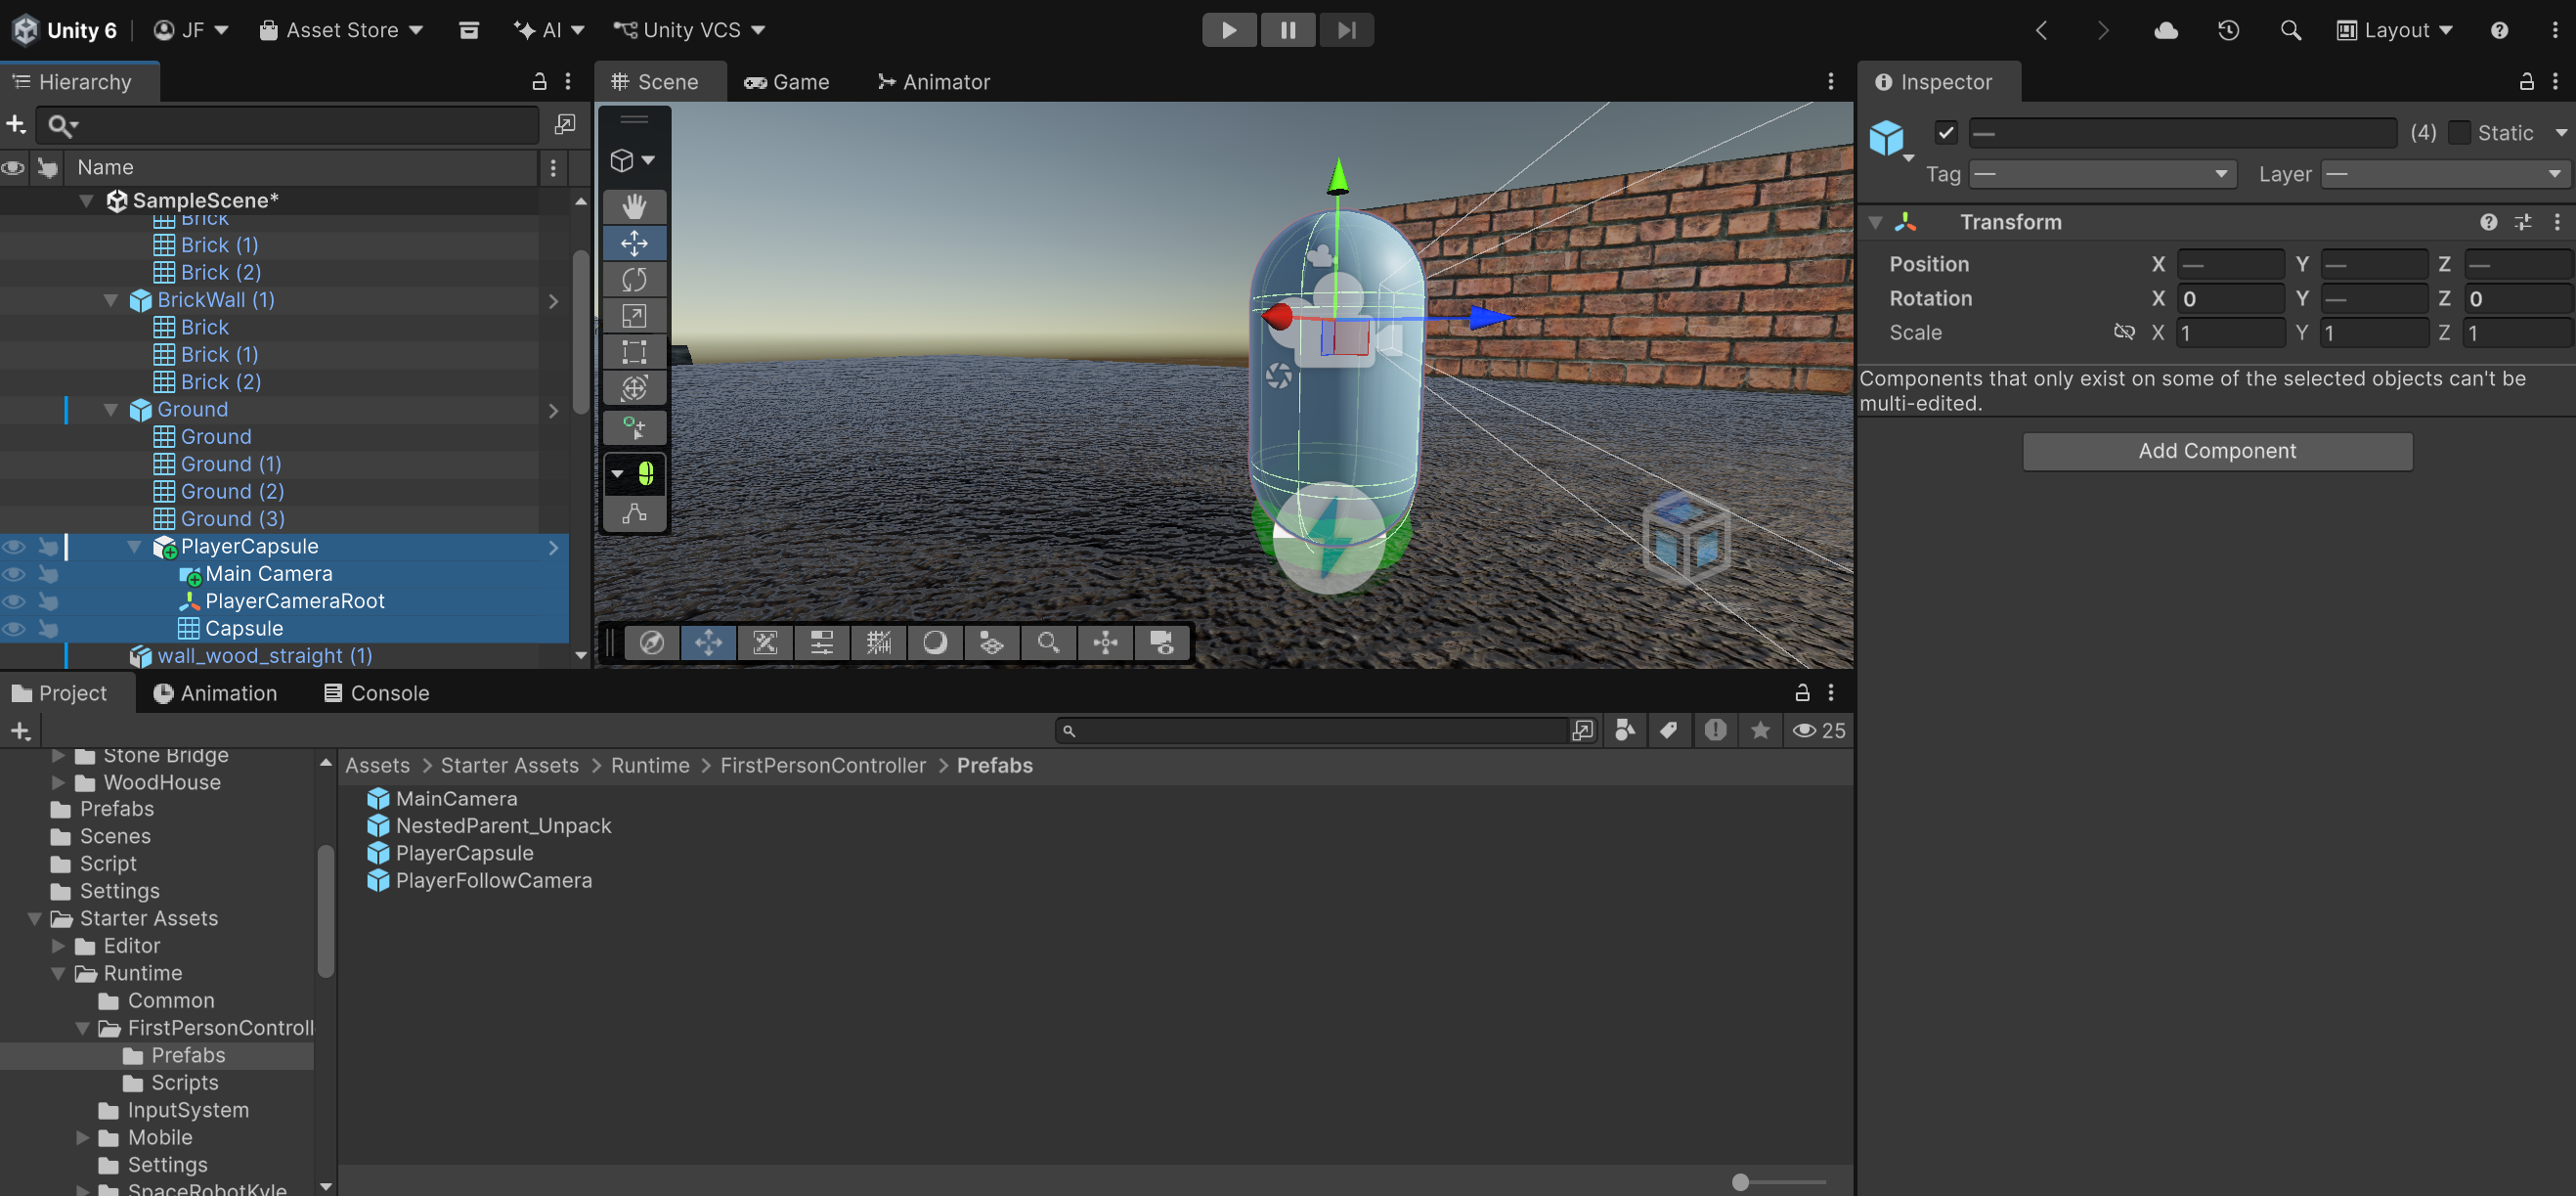
For now, my player is a capsule. I moved Main Camera inside PlayerCapsule in the Hierarchy, making the camera a child of the player. This makes it follow the player as I move through the scene.
With the player in place, I could walk around and check the layout from its perspective. This also let me test whether I could reach the collectibles on the bridge and inside the fence.
Adding the collectible balls
I added four pink floating balls around the scene. When the player touches one, it disappears and adds one point to the score. All four use the same Collectible script.
I set each ball’s collider to Is Trigger, so it detects contact with the player without blocking movement. I also added a Rigidbody with gravity disabled and Is Kinematic enabled. This keeps the balls in the positions where I placed them.
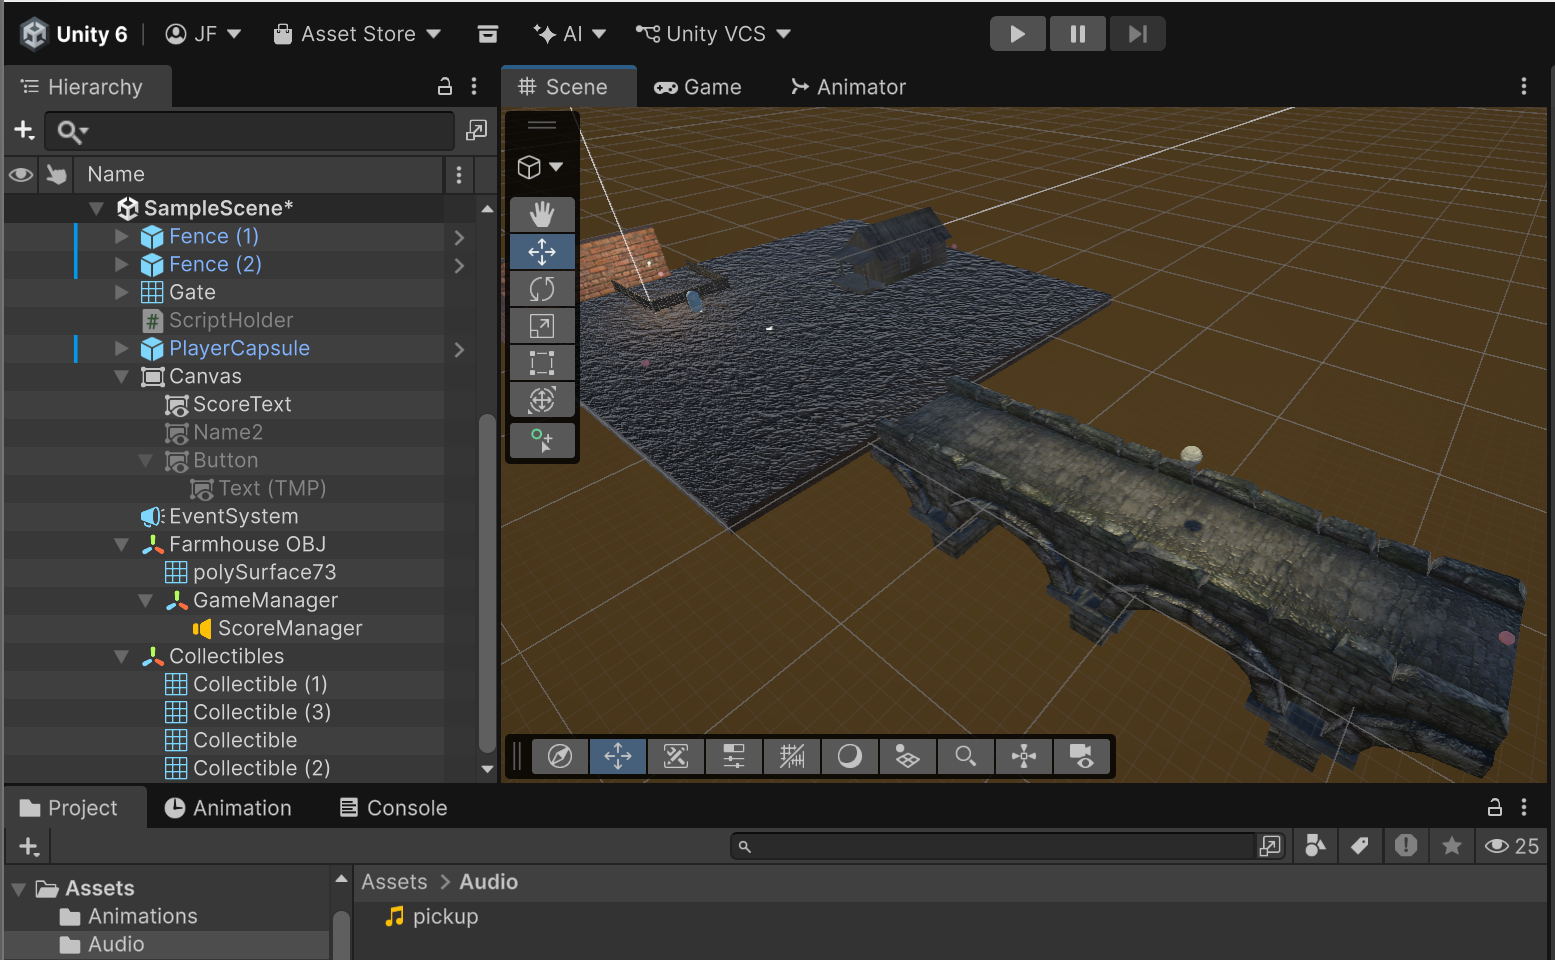
The script identifies the player through its Character Controller. It marks the ball as collected, calls the score manager, and removes the ball. I grouped the four balls under Collectibles in the Hierarchy. The screenshot below shows the layout with all four in place.
Adding the score and pickup sound
I added ScoreText to the Canvas and connected it to the ScoreManager script. The score appears in the upper-left corner of the screen. It starts at zero and increases by one whenever I collect a ball.
The collectibles call AddPoint() in ScoreManager, which updates the number and the text on screen. The same method also plays the pickup sound.
For the audio, I imported pickup.wav and assigned it to the manager in the Inspector. An Audio Source plays the clip with PlayOneShot. I set the sound to 2D so I can hear it regardless of where I collect the item.
The Audio Source stays with the score manager, so the sound can finish playing after the ball disappears. Collecting an item now updates the score and gives me an audio confirmation at the same time.
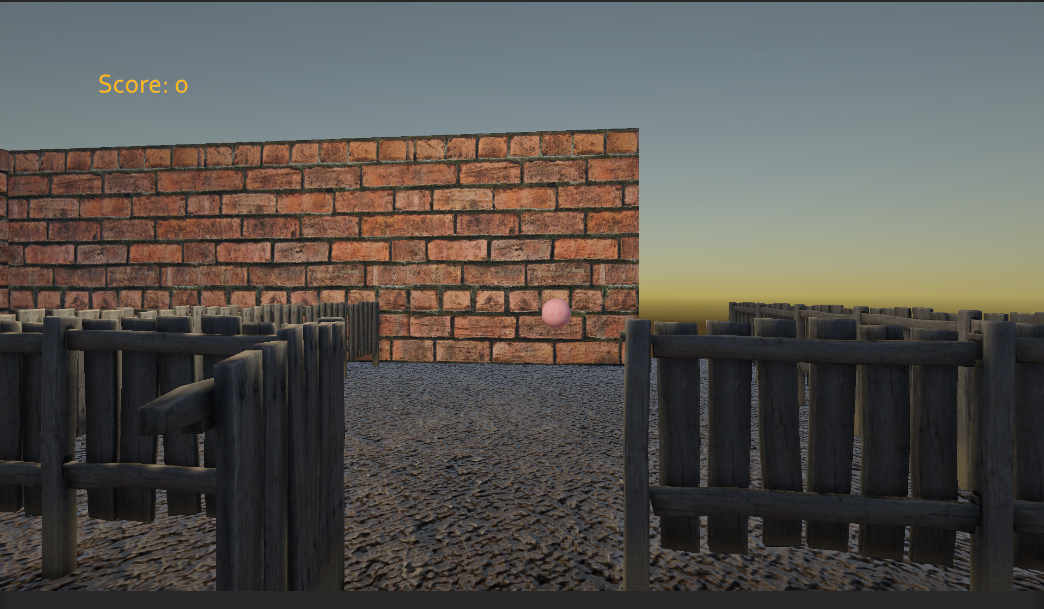
I placed one of the four balls inside a fenced area. The player needs to wait for the gate animation loop to open to reach it, so I used the opening animation I had made earlier.
The screenshot below shows the gate open and the ball inside.
The finished project
The tasks I had left unfinished are now complete. I can move around, collect all four balls, hear the pickup sound, and see the score reach four. The gate animation also works, giving access to the ball inside the fence.
Making this project was a great oportunity for learning Unity, and I am looking forward to keep learning it even more, it seems to be a very complete platform/engine, even for more serious works.
See you next time!
Tutorial and assets: I followed How to Make a Game in Unity 6 to build the world and used the assets shared with the tutorial.
Written for Lab 1B of my Human–Computer Interaction course at Télécom SudParis.